Jul 03, 2026
Connect With Our Team

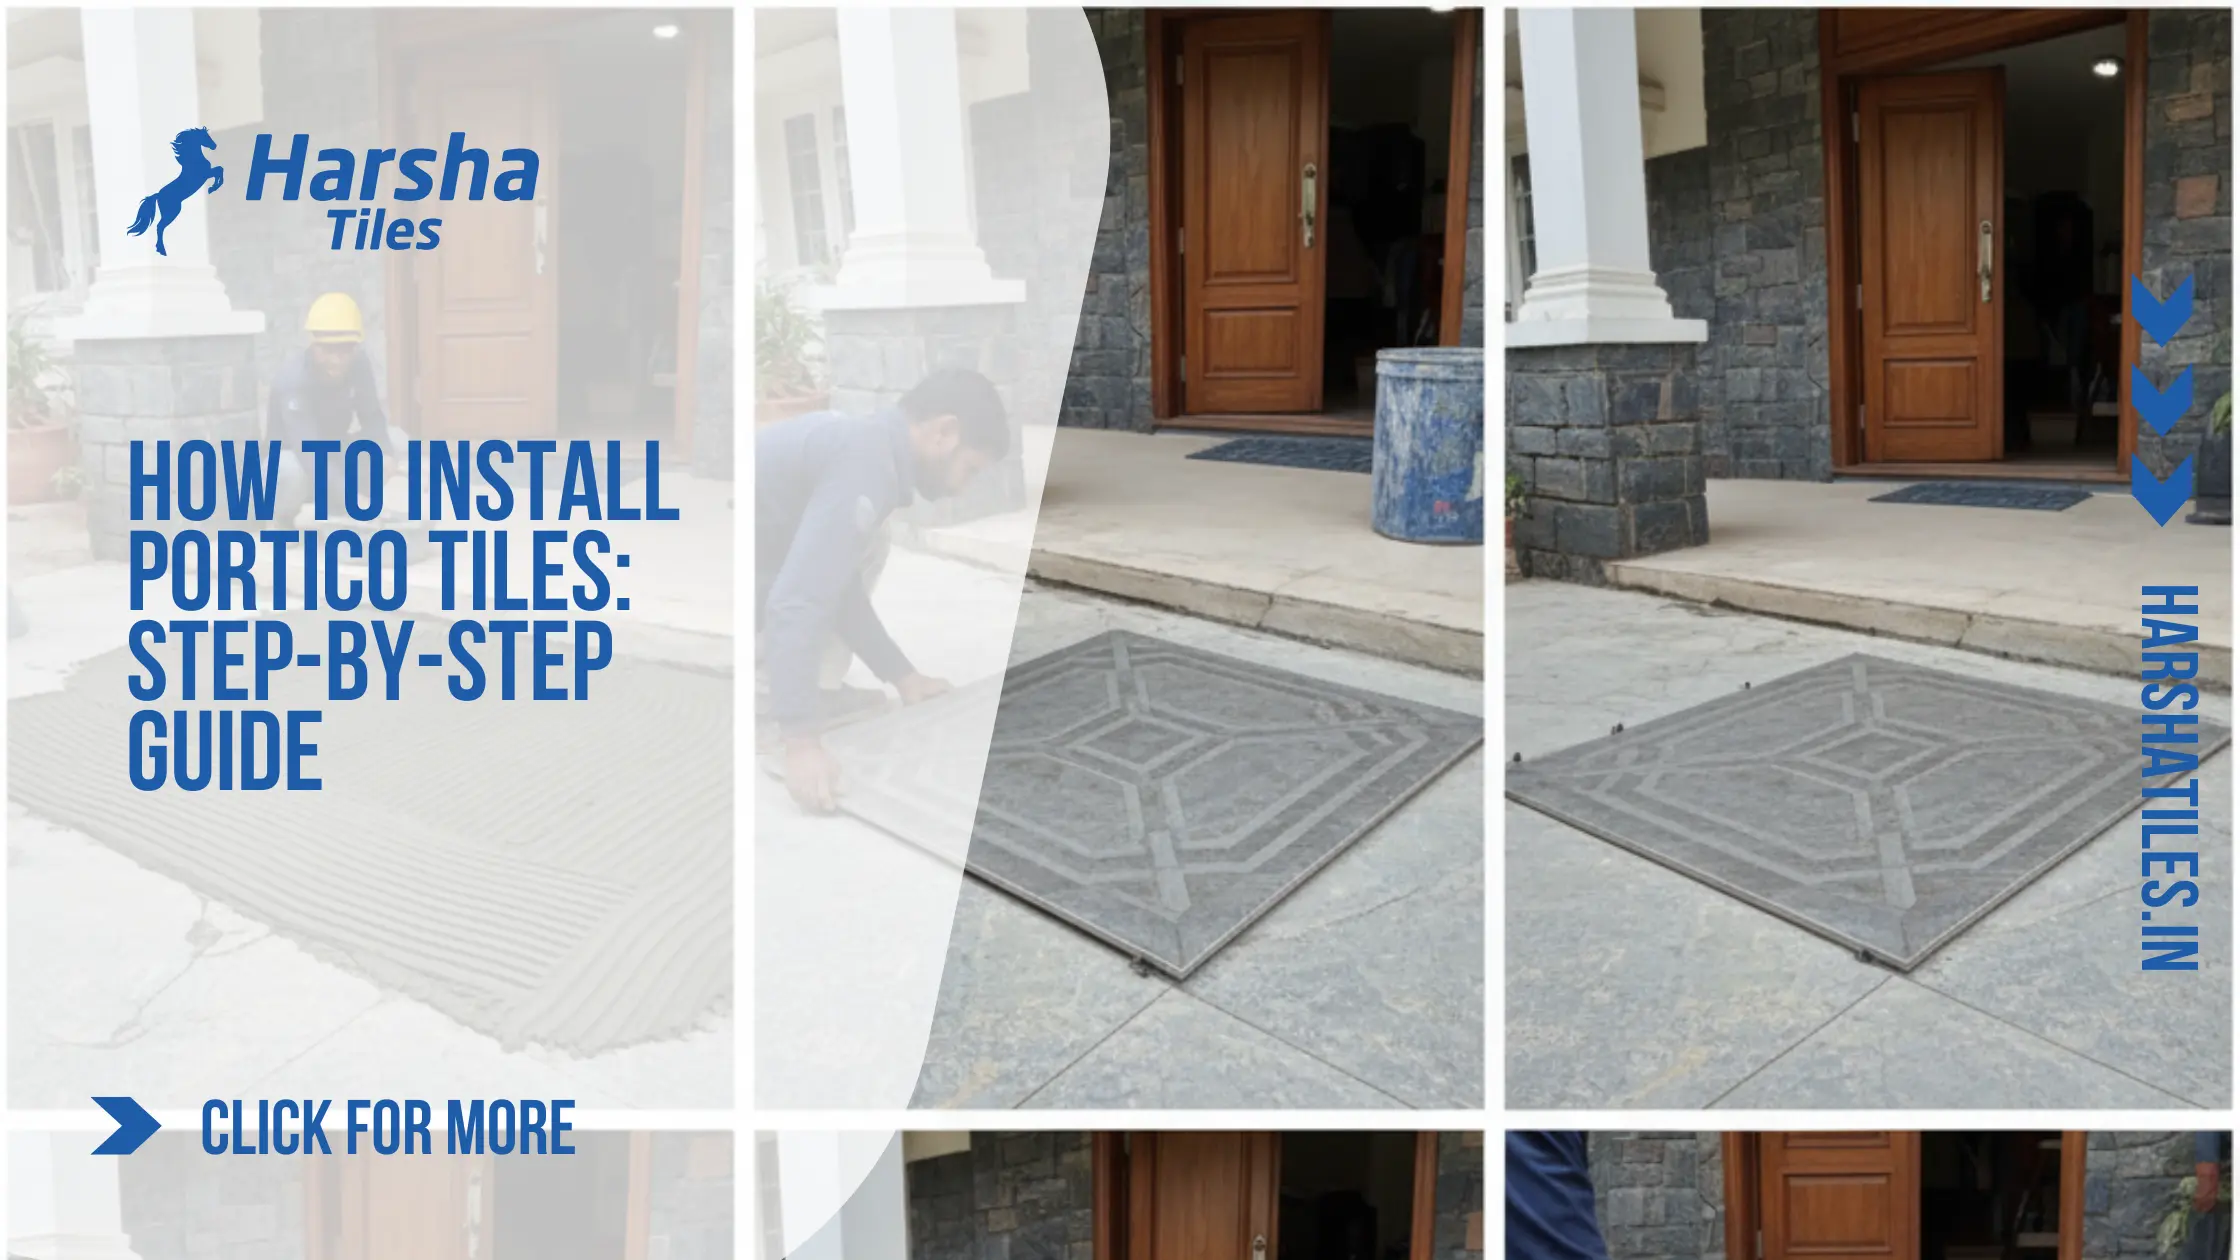
How to Install Portico Tiles: Step-by-Step Guide
Portico tile installation is more than just laying tiles it’s a complex process that blends technical skill, design aesthetics, and attention to details. Whether you’re a homeowner aiming to elevate your outdoor space or a professional contractor looking to deliver flawless results, following a structured and detailed guide is essential. Improper installation can lead to uneven surfaces, cracked tiles, or water damage, which is why a step-by-step process ensures consistency, quality, and a visually appealing finish.
A well-structured guide helps reduce errors, streamline the process, and provides clarity on the right tools, materials, and techniques to use. By adhering to these instructions, you can avoid common pitfalls and achieve professional-quality results, even if you are attempting this installation for the first time. In addition, exploring videos of expert installations can help you understand specific techniques and provide useful tips and tricks for perfect execution.
Preparation and Planning: The Key to a Successful Installation
Preparation is the foundation of any successful portico tile project. Without careful planning, even high-quality materials and skilled labor may fail to deliver the desired quality. Start by evaluating your space thoroughly. Accurate measurements of your portico area are crucial to determine the number of tiles needed and avoid wastage. Include extra tiles for cutting, borders, or future repairs, keeping the specific needs of your project in mind.
Selecting the right tools is equally important. Essentials like tile cutters, spacers, leveling devices, trowels, and high-quality adhesive make the installation process smoother and more precise. Ensure all tools are clean and in good working condition before starting. This careful planning also allows you to measure the effectiveness of each step and make adjustments if necessary.
Consider environmental factors such as sunlight, rainfall, and temperature changes. Outdoor porticos require tiles and adhesives that are resistant to heat, moisture, and frost. Ignoring these factors can reduce the effectiveness of your installation. Consulting professionals, watching videos, and exploring expert suggestions can provide valuable insights, helping you make informed decisions before you start.
Understanding the Importance of Guides in Tile Installation
Guides are indispensable for any complex process, including portico tiles. They provide a structured framework that helps reduce mistakes, improve workflow, and maintain high quality throughout the project.
Step-by-step instructions walk you through each phase, from surface preparation to final sealing. Detailed guides include tips, alignment techniques, spacing strategies, and grouting methods. Following these instructions ensures your tiles are perfectly aligned, level, and secure.
In addition, guides help you measure the effectiveness of your installation and improve your workflow over time. They allow you to plan each task efficiently, reducing installation time and minimizing errors. Even if you are installing tiles for the first time, a well-prepared guide can assist you in customizing the content of your plan and provide valuable tricks for professional-quality results.
Choosing the Right Materials for Portico Tile Installation

Selecting appropriate materials is vital for a durable and aesthetically pleasing portico. Using the wrong type of tile, adhesive, or grout can compromise the quality of your process and reduce long-term durability.
When choosing portico tiles, opt for those specifically designed for outdoor use. Look for slip-resistant surfaces, strong durability, and resistance to weather elements. Consider tiles with textured finishes for safety and visual appeal.
Adhesives play a crucial role in ensuring tiles adhere properly to the surface. High-quality adhesives like Harsha Tiles’ 410 Silver, 500 Gold, and 600 Diamond series provide excellent bonding strength, longevity, and resistance to environmental wear and tear. These adhesives are compatible with a variety of tile types and sizes, ensuring a secure installation and meeting the specific needs of your project.
Grouts and sealants protect your tiles from moisture, dust, and environmental exposure. Weather-resistant grout prevents water penetration, reducing the risk of cracks or mold growth. Sealants enhance tile durability, prolonging the lifespan of your portico while maintaining its aesthetic appeal. By carefully selecting the right combination of tiles, adhesives, grout, and sealants, you can improve the overall effectiveness of your installation and ensure a smooth workflow.
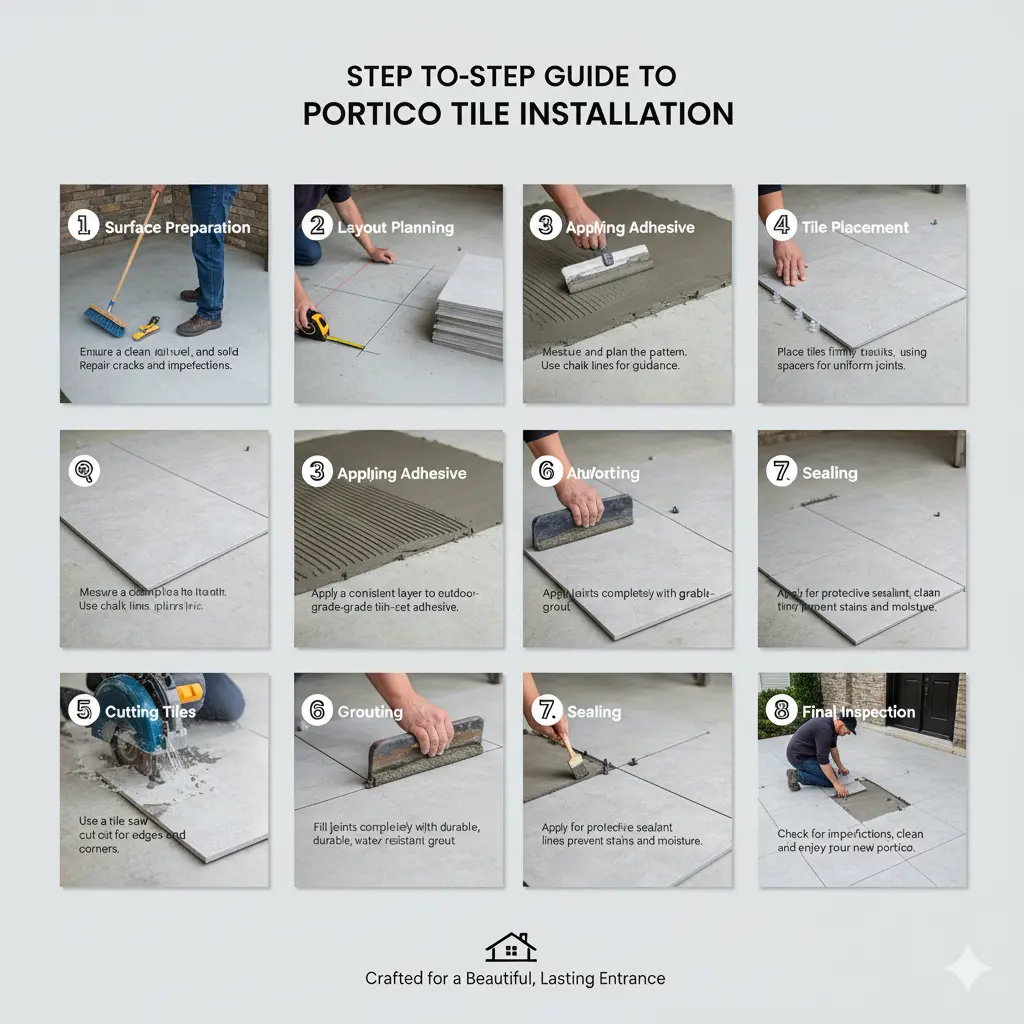
Step-by-Step Guide to Portico Tile Installation
-
Surface Preparation: Clean the portico thoroughly, removing dust, debris, or any old adhesive residues. Level the surface using a leveling compound if required, ensuring there are no bumps or depressions that can affect tile alignment. Documentation of your surface preparation can assist in tracking progress and maintaining quality.
-
Layout Planning: Arrange tiles in a dry layout to determine optimal positioning, patterns, and spacing. Plan cuts and borders in advance to reduce errors during actual installation. Use this stage to explore design ideas and customize patterns for your space.
-
Applying Adhesive: Spread the adhesive evenly across the surface using a notched trowel, ensuring complete coverage to prevent tiles from loosening or uneven surfaces forming over time. Take your time to ensure proper adhesion and improve long-term durability.
-
Tile Placement: Carefully place each tile onto the adhesive, using spacers to maintain uniform gaps. Tap tiles lightly with a rubber mallet to ensure a secure bond and proper alignment. Watching videos at this stage can provide tips for precise placement.
-
Cutting Tiles: For edges and corners, use a tile cutter for precision cuts. Measure twice and cut once to minimize wastage and ensure a clean finish. Accuracy here saves time and avoids unnecessary adjustments later.
-
Grouting: Once the adhesive has cured, apply grout between tiles using a rubber float. Wipe off excess grout with a damp sponge to maintain a clean and polished appearance. Proper documentation of your grouting technique can help for future maintenance.
-
Sealing: Apply a sealant over tiles and grout to protect against moisture, stains, and environmental exposure, extending the life of your installation.
-
Final Inspection: Check for alignment, level, and even spacing. Ensure that tiles are firmly set and there are no gaps or inconsistencies before allowing foot traffic. This final step allows you to measure overall effectiveness and ensure the quality of your process.
Following these detailed steps guarantees a professional and visually appealing installation that enhances your portico’s functionality and beauty.
Expert Tips for Long-Lasting Portico Tiles
-
Regular Cleaning: Maintain your portico by cleaning tiles periodically to prevent dirt, algae, or stains from accumulating.
-
Weather Protection: Use sealants and protective coatings to shield tiles from heavy rainfall, direct sunlight, and temperature fluctuations.
-
Trust Reliable Brands: Partner with trusted manufacturers like Harsha Tiles, known for offering a wide range of tiles, adhesives, and finishes suitable for both traditional South Indian designs and modern aesthetics. You can also explore videos and tutorials from such brands to walk through installation techniques step by step.
-
Customize Your Approach: Tailor your installation plan to your specific needs and audience, especially if you’re creating content like YouTube tutorials or instructional guides for others to follow.
Conclusion
Portico tile installation is a complex process, but with careful planning, the right materials, and adherence to a detailed step-by-step guide, it becomes manageable and rewarding. Following expert tips, documenting your tasks, and measuring the effectiveness of each stage ensures your portico remains visually stunning and structurally sound for years.
Investing time in preparation and using quality materials pays off by delivering a safe, long-lasting, and elegant outdoor space that enhances your home’s overall appeal. By exploring videos, content, and professional suggestions, you can customize your installation process and achieve results that meet the highest standards of quality.

Whatsapp Chatx
Hi! Click one of our representatives below to chat on WhatsApp or send us email to info@harshatiles.in
 |
Mr Saleem +91 82702 80707 |
|
Mr Subramanian +91 96265 57655 |
 Design Your Dream Home