Jul 03, 2026
Connect With Our Team

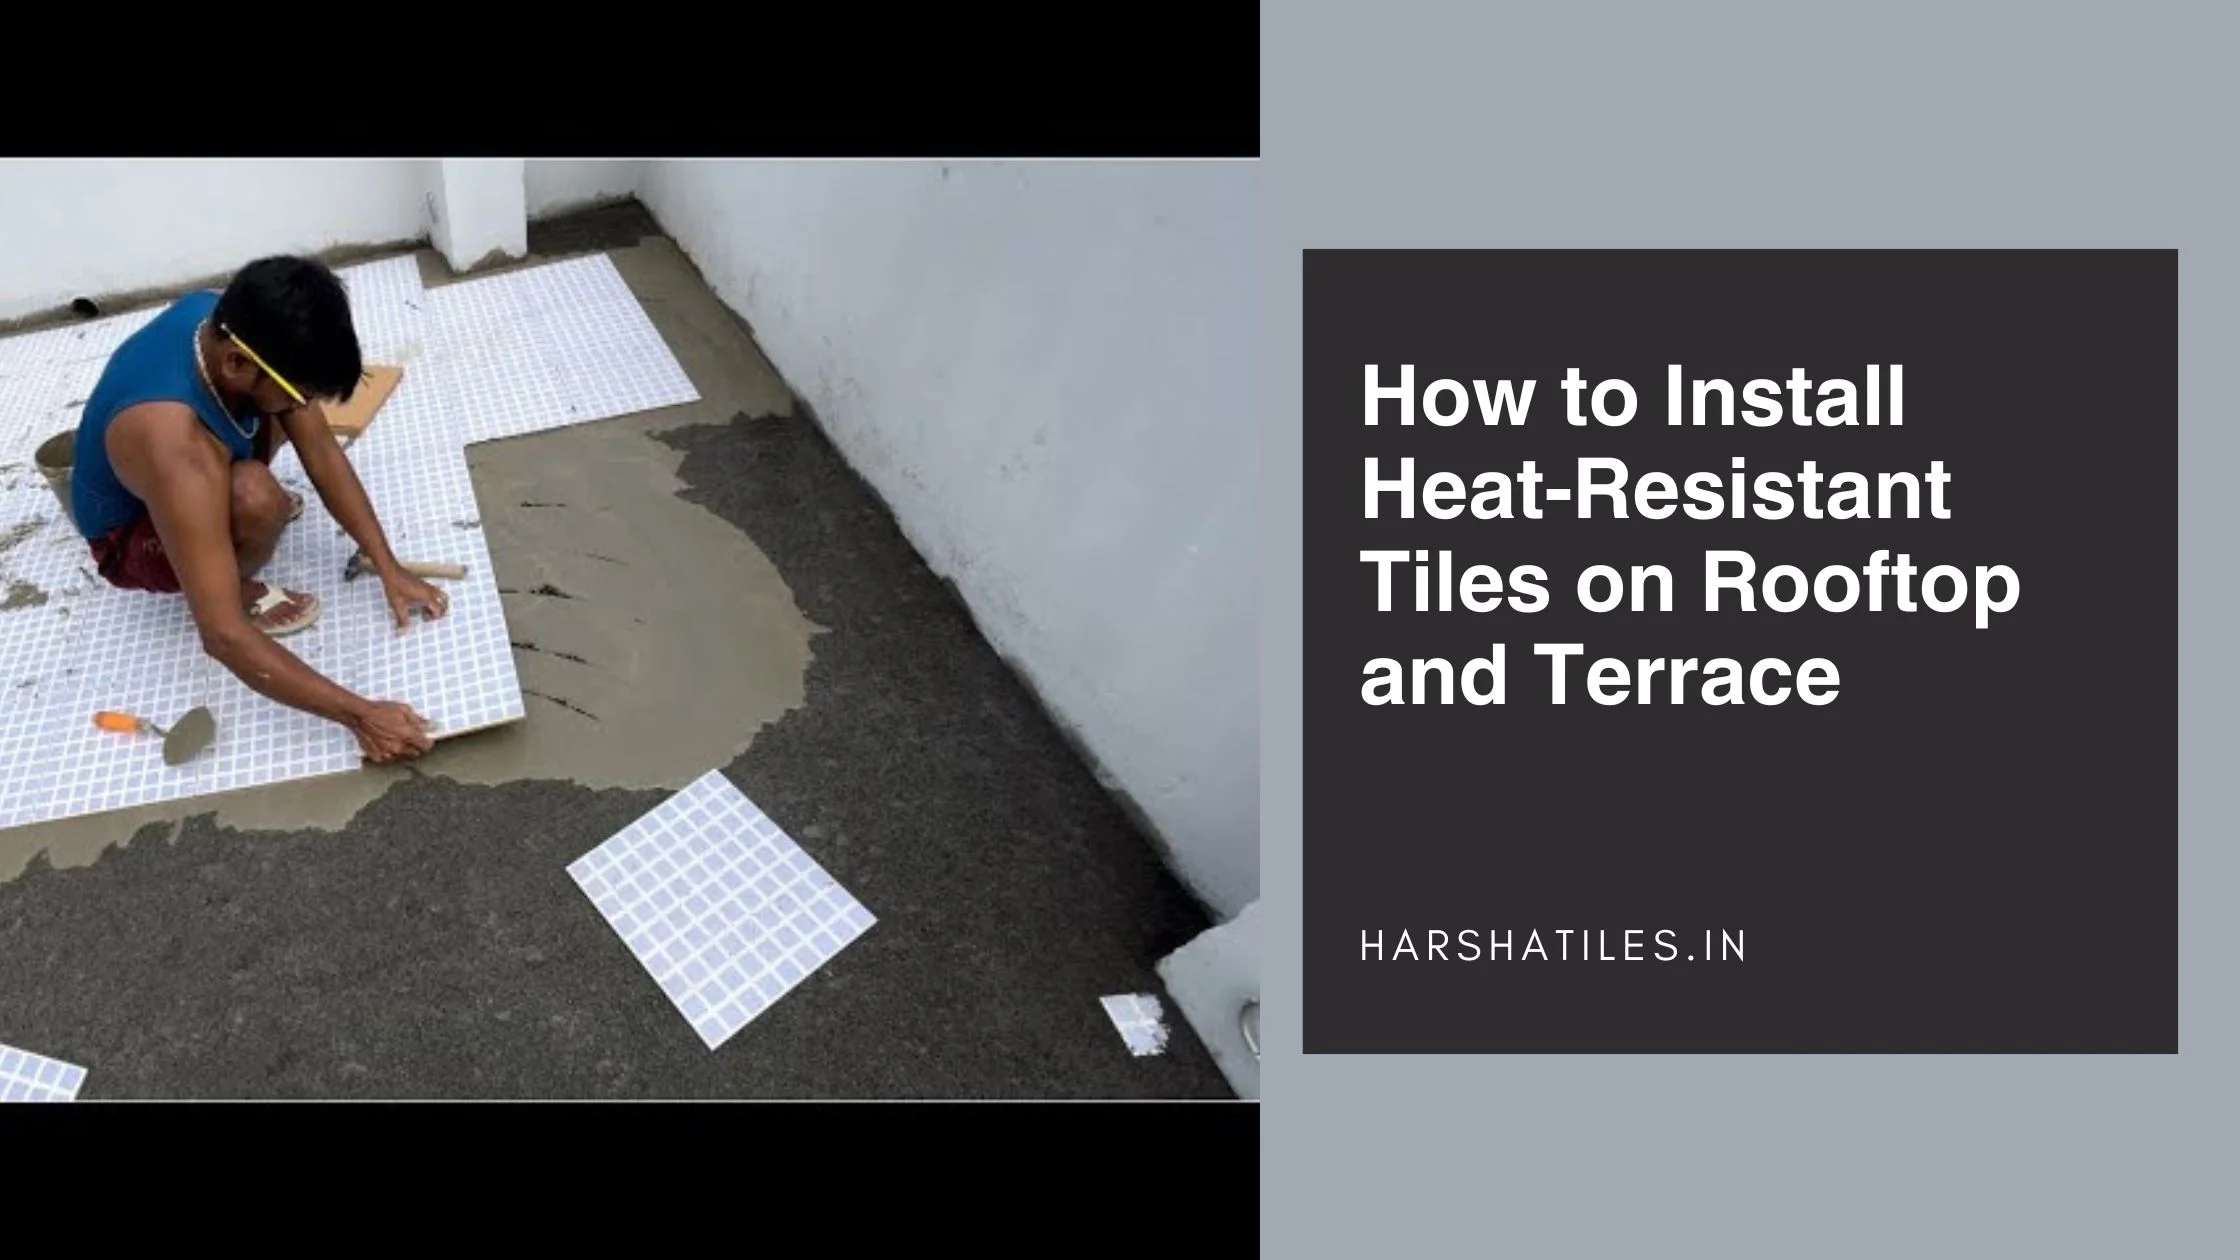
How to Install Heat-Resistant Tiles On Rooftop and Terrace
As global temperatures continue to rise, more homeowners and building professionals are turning to heat-resistant tiles for their rooftops and terraces especially during the summer months. In these hot climates, specially engineered tiles reflect the sun and are designed to keep down heat absorption, making them a sustainable and low-cost approach to keeping buildings cool.
Adding heat-reflecting tiles is a simple thing to do, whether you are building a new building or renovating an old structure; it will greatly enhance thermal comfort, reduce your energy bills, and help your building last longer. Here you will be guided step by step through finding, laying out, and preparing summer roof tiles for optimal performance.
Why Choose Heat-Resistant Tiles for Rooftop or Terrace?
Heat-resistant rooftop tiles provide more than just a cooler surface. They incorporate distinct protection for the entire building. They serve multiple purposes in improving the performance and discipline of your building in extreme heat or lengthy exposure to the sun during the summer.

Expanded Benefits:
-
Reduces Heat Absorption: Solar radiation, in particular, is reflected by these tiles in a significant portion (70–90%), which contributes to reducing the temperature of the roof surface by 10 to 15 °C towards comparison of regular surfaces. It saves interiors from getting warm in summer, thereby enhancing comfort and mitigating thermal stress.
-
Reduce Energy Consumption: Allows you to reduce energy consumption as your rooftop doesn’t absorb excess heat, meaning your building stays cooler naturally. Such technology minimizes the occasions for the use of air conditioners and cooling systems, hence has a great impact on energy consumption savings, specifically during scorching hot summer days.
-
Waterproof: Many of the cooling roof tiles are waterproof in different ways. Without proper waterproofing, they work with your slab and prevent rain, humidity, and summer storms from touching your slab.
-
Improves Building Durability: The reduction of heat-associated expansion and contraction cycles reduces the occurrence of cracks and structural damage in the building. UV protection is also provided by them in high sun exposure climates.
-
Visual Appeal: Heat reflectors such as ceramic tiles come in different colors, finishes, and textures, along with a color to the rooftop which can be utilized as terrace gardening, seating or solar panels for a great visual appeal.
Materials and Tools Required
To begin the process, the materials and tools must be arranged before the installation. It not only assures a hassle-free, smoother workflow but also saves delays and errors while doing the process.
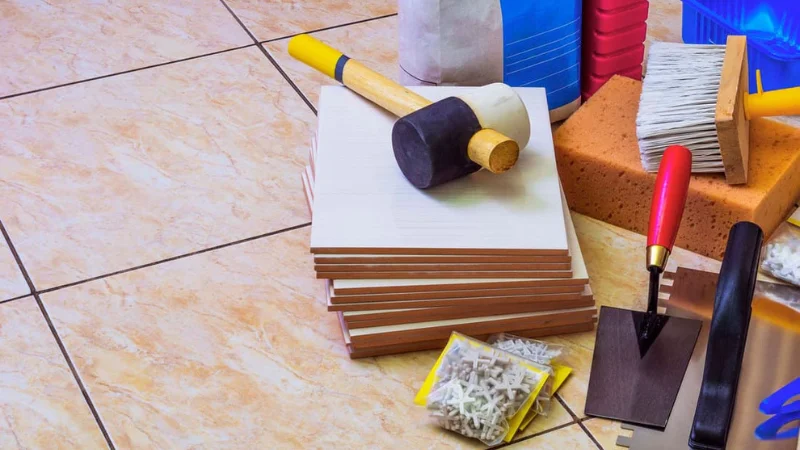
Essential Materials:
-
Heat-Resistant Tiles: Choose from cool roof tiles, solar reflective ceramic tiles, or clay-based tiles with high SRI ratings.
-
Cement: Ordinary Portland Cement (OPC) or Portland Slag Cement (PSC) is ideal for tile base preparation.
-
River Sand: Fine river sand for preparing mortar mix and screeding the surface.
-
Tile Adhesive: Flexible adhesive with high bonding strength for exterior applications.
-
Waterproofing Membrane/Chemical: Crucial for protecting the structure from water seepage.
-
Grout and Sealant: UV-resistant and weatherproof grouts for tile joints; acrylic or polyurethane sealants for additional surface protection.
Tools Required:
-
Notched Trowel: Helps in spreading adhesive evenly on the surface.
-
Rubber Mallet: Used for gently tapping tiles into position without damaging them.
-
Measuring Tape: Ensures precise alignment and spacing of tiles.
-
Tile Spacers: Keep uniform gaps between tiles for proper grouting.
-
Spirit Level: Essential for maintaining an even surface.
-
Grout Float: For applying grout into joints.
-
Buckets & Mixing Tools: Used for preparing mortar and adhesive.
Step-by-Step Installation Guide
The right way to install heat-resilient tiles guarantees they work well in bad weather and remain durable. This is a refined guide to use through every step of the process, from surface preparation to the final sealing.
1. Surface Preparation
First, clean the rooftop top to bottom with a wire brush or pressure washer to rid the rooftop surface of mess, oil, crawlspaces, and any previous covering material. Take a look at the surface and see if there are cracks or water damage on it, in case you can repair them with a concrete patching compound. Continue only when the area is completely dry. The ability to properly adhere and to last is determined by having a smooth, dry surface.
Key Points:
-
Pressure wash for deep cleaning
-
Fix cracks and imperfections
-
Ensure the surface is dust-free and fully dry
2. Apply Waterproofing Treatment
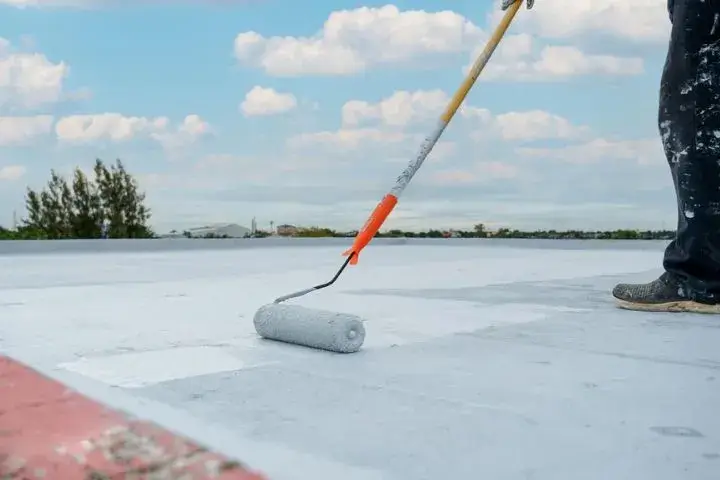
The entire surface must be applied with a high-quality waterproofing membrane or a two-coat chemical treatment. Pay attention to joints, corners and drainage points. Moving to the next step should wait at least 24 to 48 hours after the waterproofing cures so that it can be tested properly. This layer gives the structure some serious protection from leakage and gives some life to the tile work.
Key Points:
-
Use waterproof tape or mesh at joints
-
Brush or roll evenly for best results
-
Avoid tiling before full curing
3. Prepare the Mortar Bed
After waterproofing, mix the mixture of cement and sand with water in a ratio of 1:4 and make a smooth and workable mortar. Then with the screed rod, spread a layer about 20–25 mm thick and a very slight slope for drainage. Settle the bed for a bit before tiling and prevent shifting or sinking during the installation.
Key Points:
-
Maintain even thickness
-
Add bonding agents for strength
-
Ensure a 1:100 slope for rainwater flow
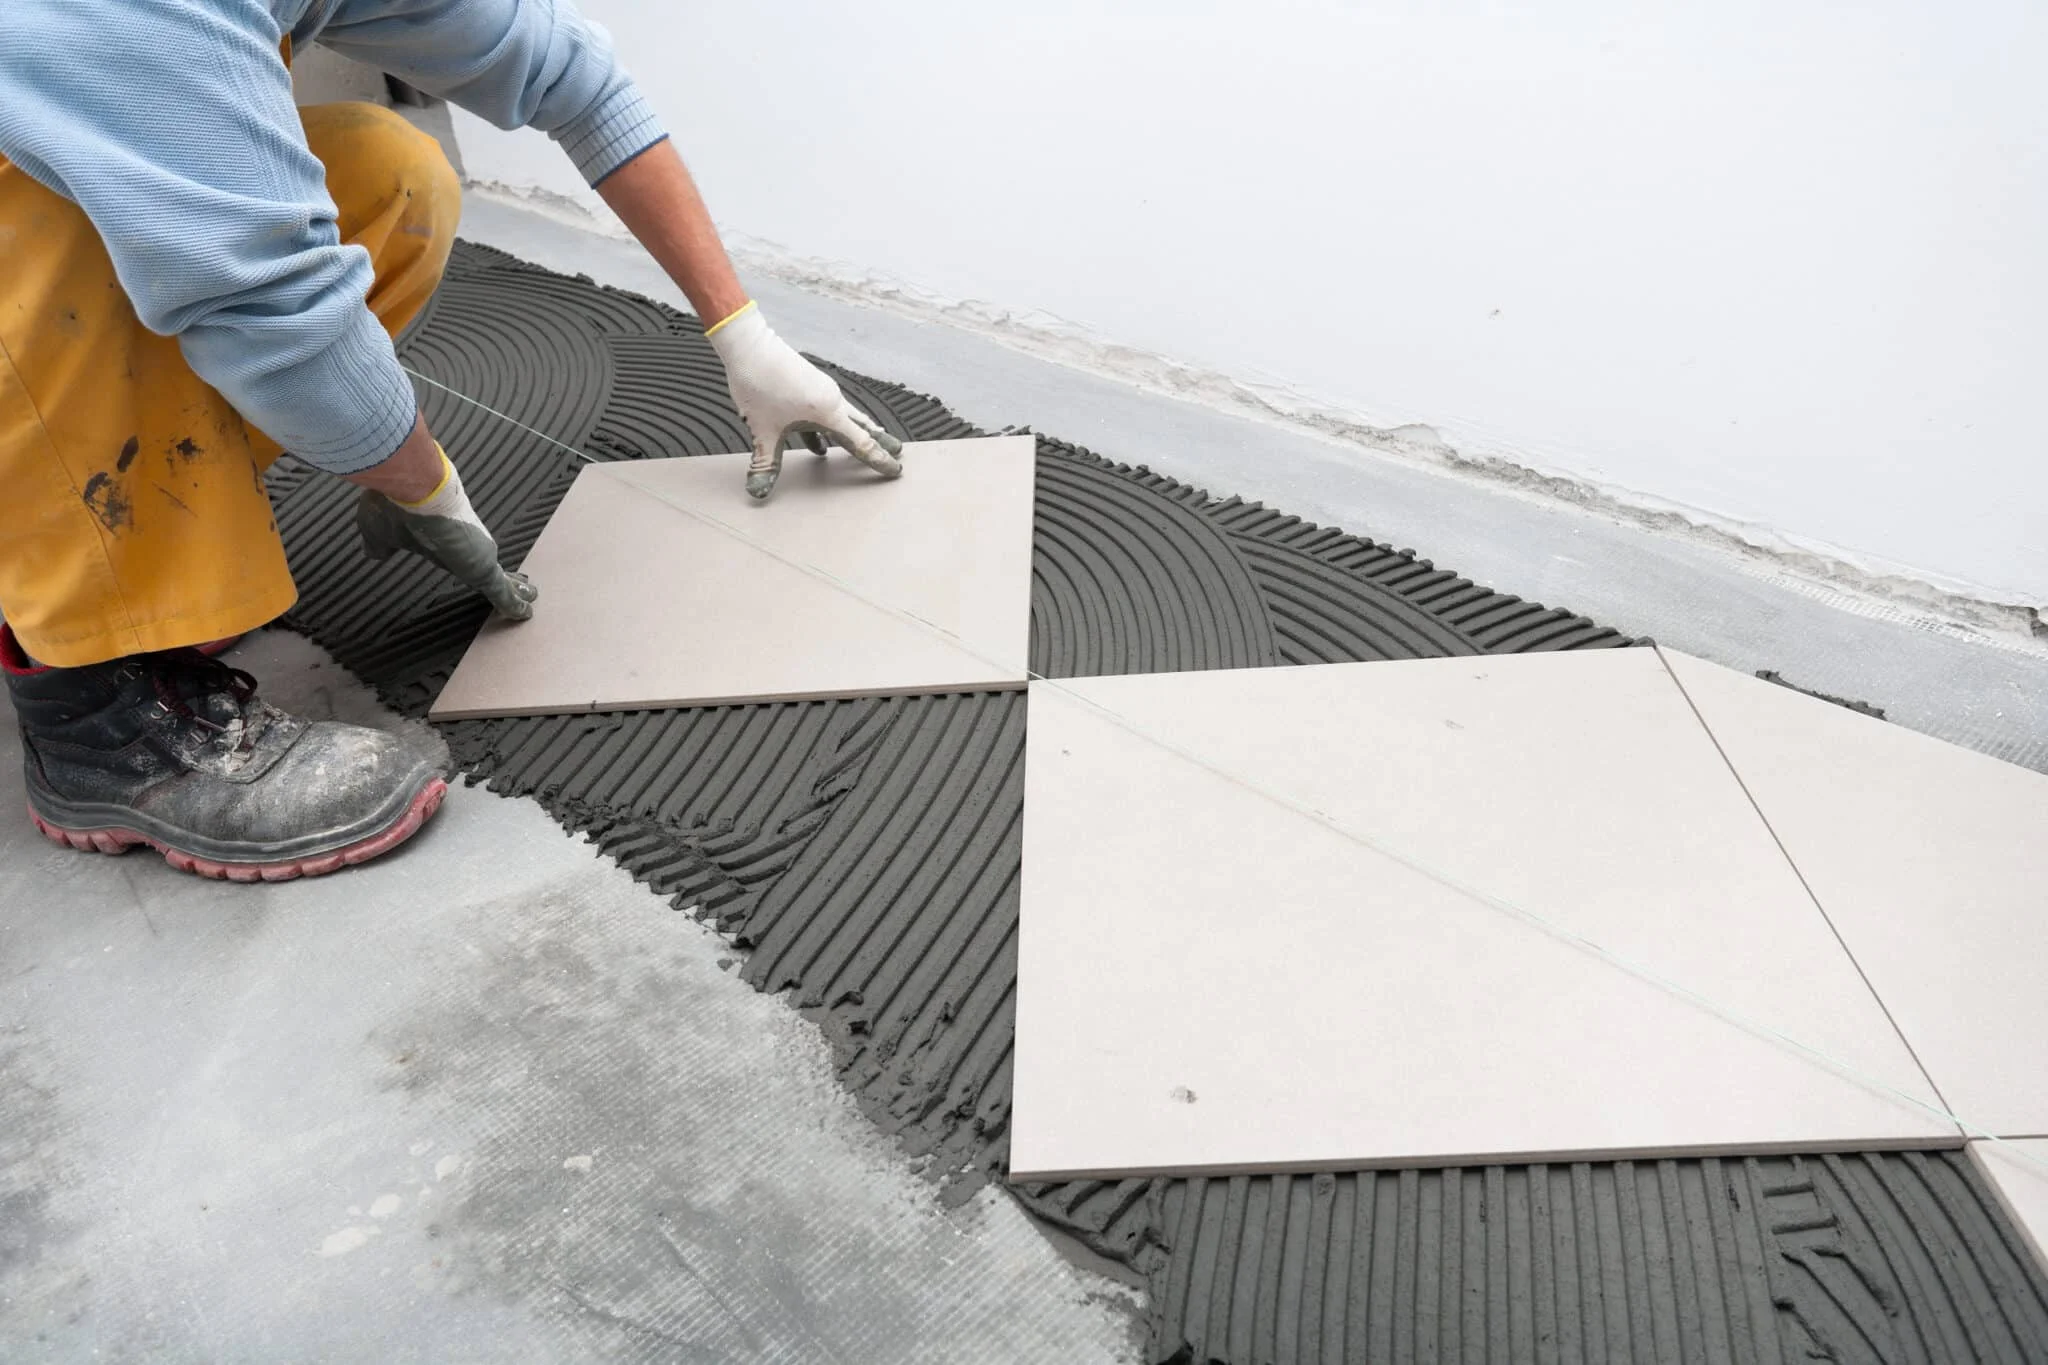
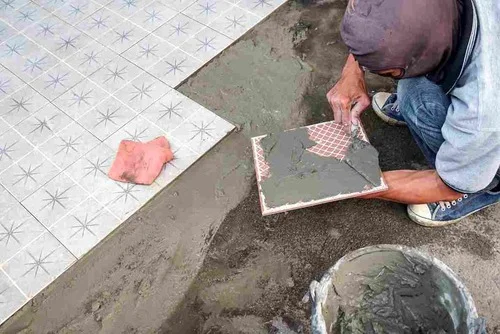
4. Tile Laying Process
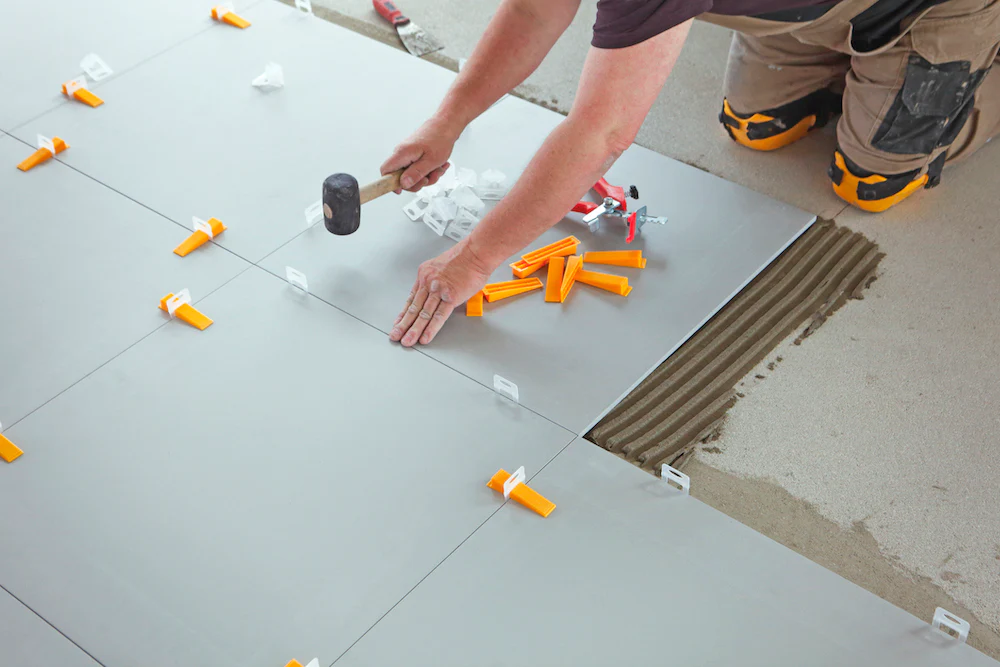
Begin planning and then arrange the tiles according to your plan. Place some tiles from one corner with adhesive placed on the rear or mortar side, using a notched trowel. Press the tiles firmly, and use a rubber mallet to put it level each one. Leave a small amount of spacers between the tiles that one can insert to give consistency to the grout lines and check the alignment many times with a spirit level before working to achieve a uniform look.
Key Points:
-
Begin at a straight edge or corner
-
Use spacers (3–5 mm) for joint gaps
-
Avoid working under direct afternoon sun
5. Grouting the Joints
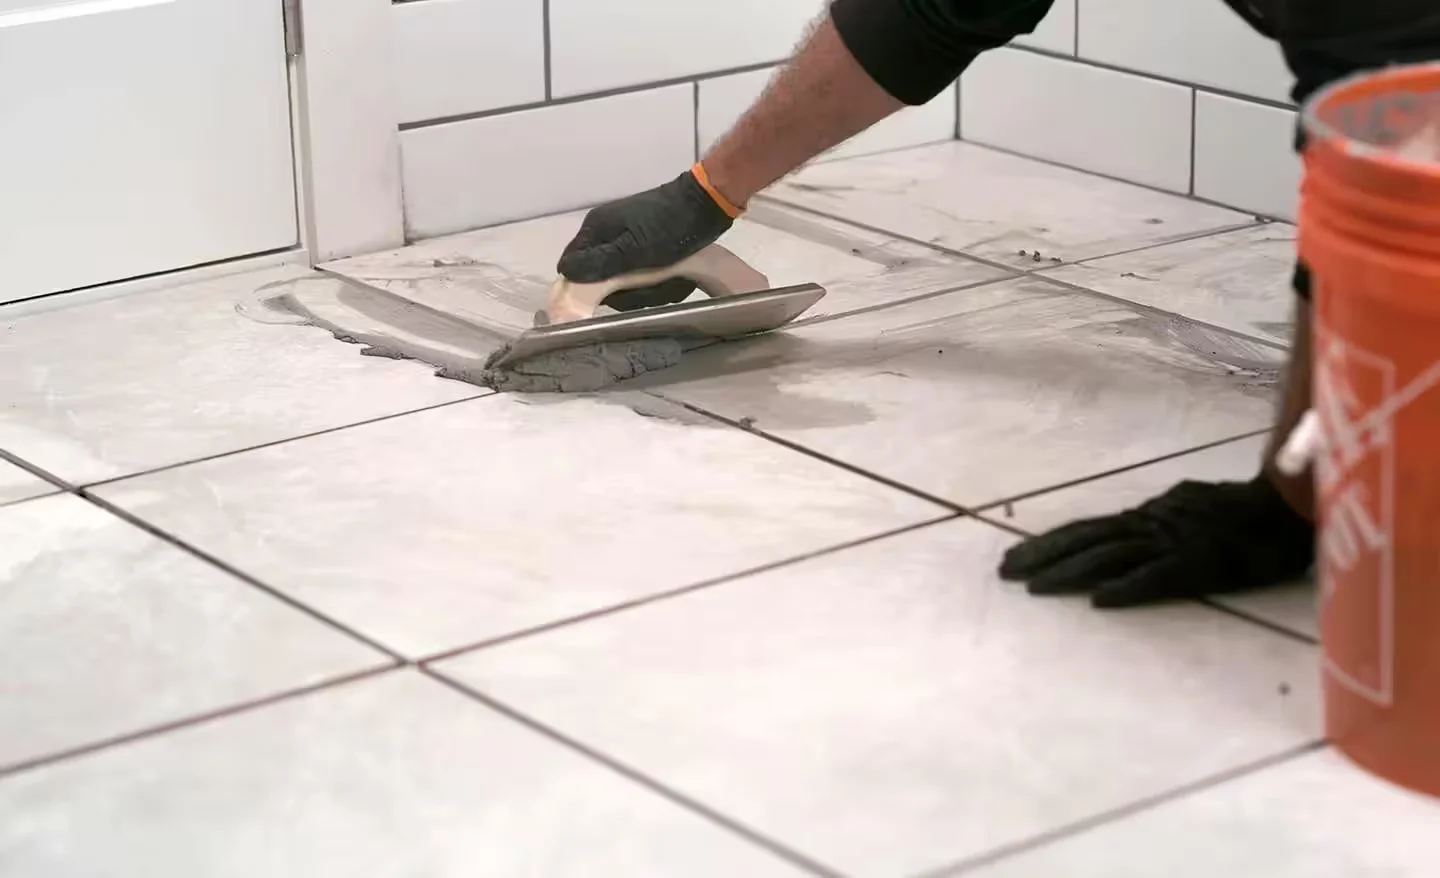
Let the adhesive dry for 24 - 48 hours and then apply grout using a rubber float to fill gaps between tiles. For outdoor use, use UV-stable, anti-fungal and water-repellent grout. This allows the grout to dry before it leaves visible streaks of moisture on the grout surface. Sweep clean any excess grout before it dries and let the grout cure at least 24 hours before cleaning.
Key Points:
-
Mix grout as per instructions
-
Fill joints fully and wipe off residue
-
Avoid early traffic over the area
6. Apply Protective Sealant
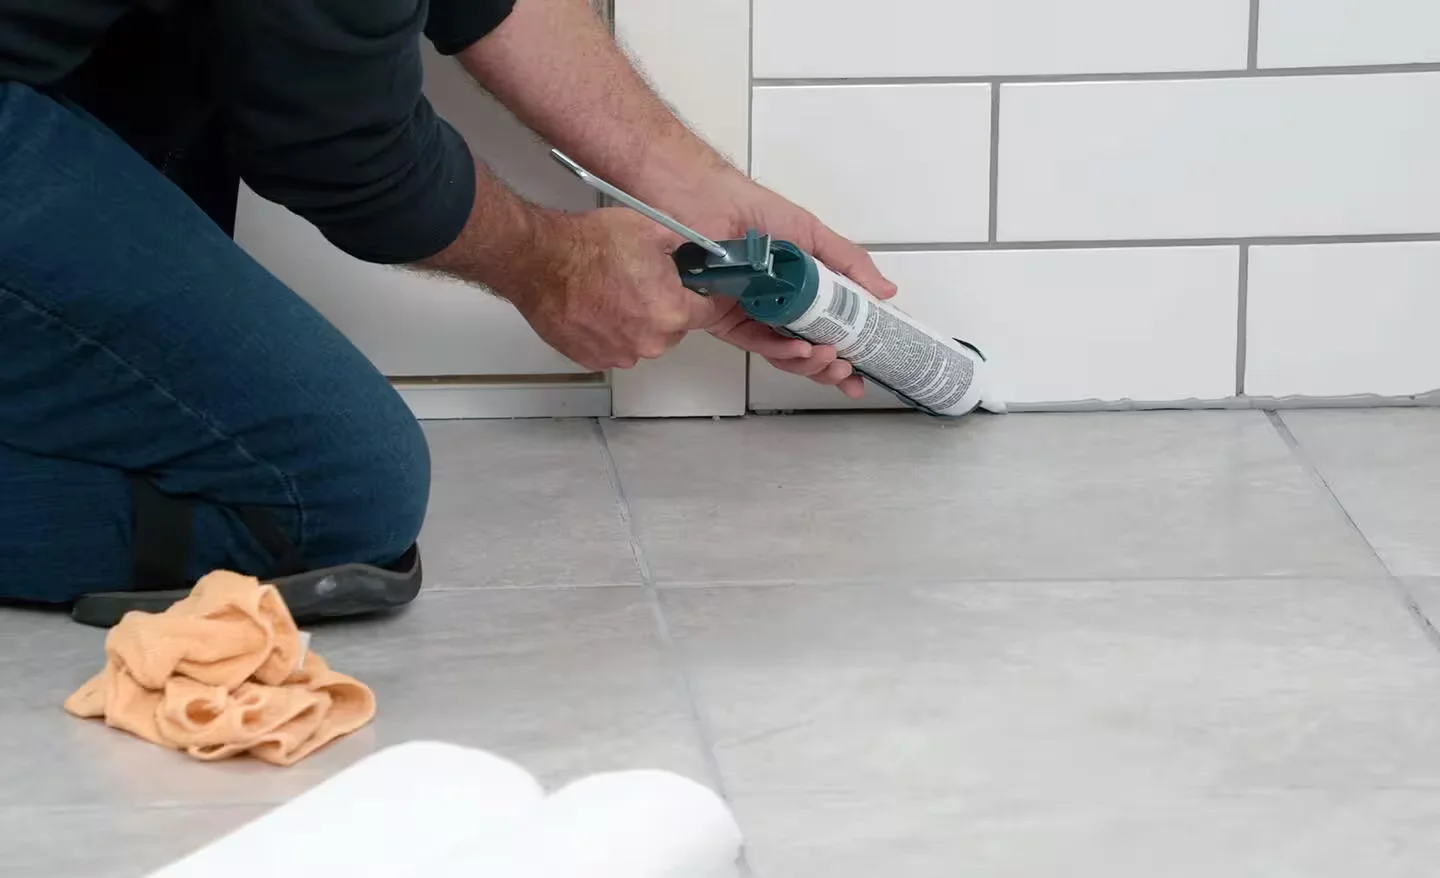
When the grout has cured, a UV-stable, weather-resistant, sealant should be applied over the tiled surface. This protective coat will reduce dust, water stains and fading. Reapply every few years and use a roller or sprayer to apply evenly.
Key Points:
-
Clean tiles before sealing
-
Use breathable, exterior-grade sealant
-
Reapply every 2–3 years for best results
Maintenance Tips for Long-Term Performance
Should even the most durable heat-resistant tiles not be cared for properly, they will not perform to their optimum and will appear as such. Not only does this help improve the thermal performance of the tile, but it also keeps your terrace or rooftop safe, clean, and visually attractive. Monitoring playing fields to look for damage to tile condition, grout health and surface cleanliness may help forestall extended damage and expensive repairs. Behind this simple means of protecting the surface lie several things you need to do to keep them from wearing out, from harsh weather to UV exposure, for many years.
Regular Maintenance Checklist:
-
Sweep away dust, leaves, and debris, and wash the surface with mild soap every 2–4 weeks.
-
Inspect the area for cracked or chipped tiles and damaged grout; repair them promptly to avoid water seepage.
-
Avoid harsh acidic or abrasive cleaners, as they may dull or damage the tile’s protective coating.
-
Clean out gutters and drainage outlets regularly to prevent water stagnation near the tiles.
-
Reseal the surface every 2–3 years to maintain its waterproofing properties and UV reflectivity.
Best Types of Heat-Resistant Tiles for Rooftop Use
The choice of heat-resistant tile is necessary for both the design of the rooftop and for achieving heat comfort inside the building. There are many tile options that provide excellent protection against seas of high heat absorption and intense sunlight, ranging from traditional to modern high-performance surfaces. Harsha Tiles is one of the most popular manufacturers providing premium quality cool roof tiles for both residential and commercial space requirements, among the top choices.
Specialty cool roof tiles by Harsha Tiles are available with many specially engineered to reflect solar radiation, reducing surface temperature, and enhancing energy efficiency. Both tests are to find out how the tiles will hold up to different climates and also how long they will last before they become discolored, worn, etc.
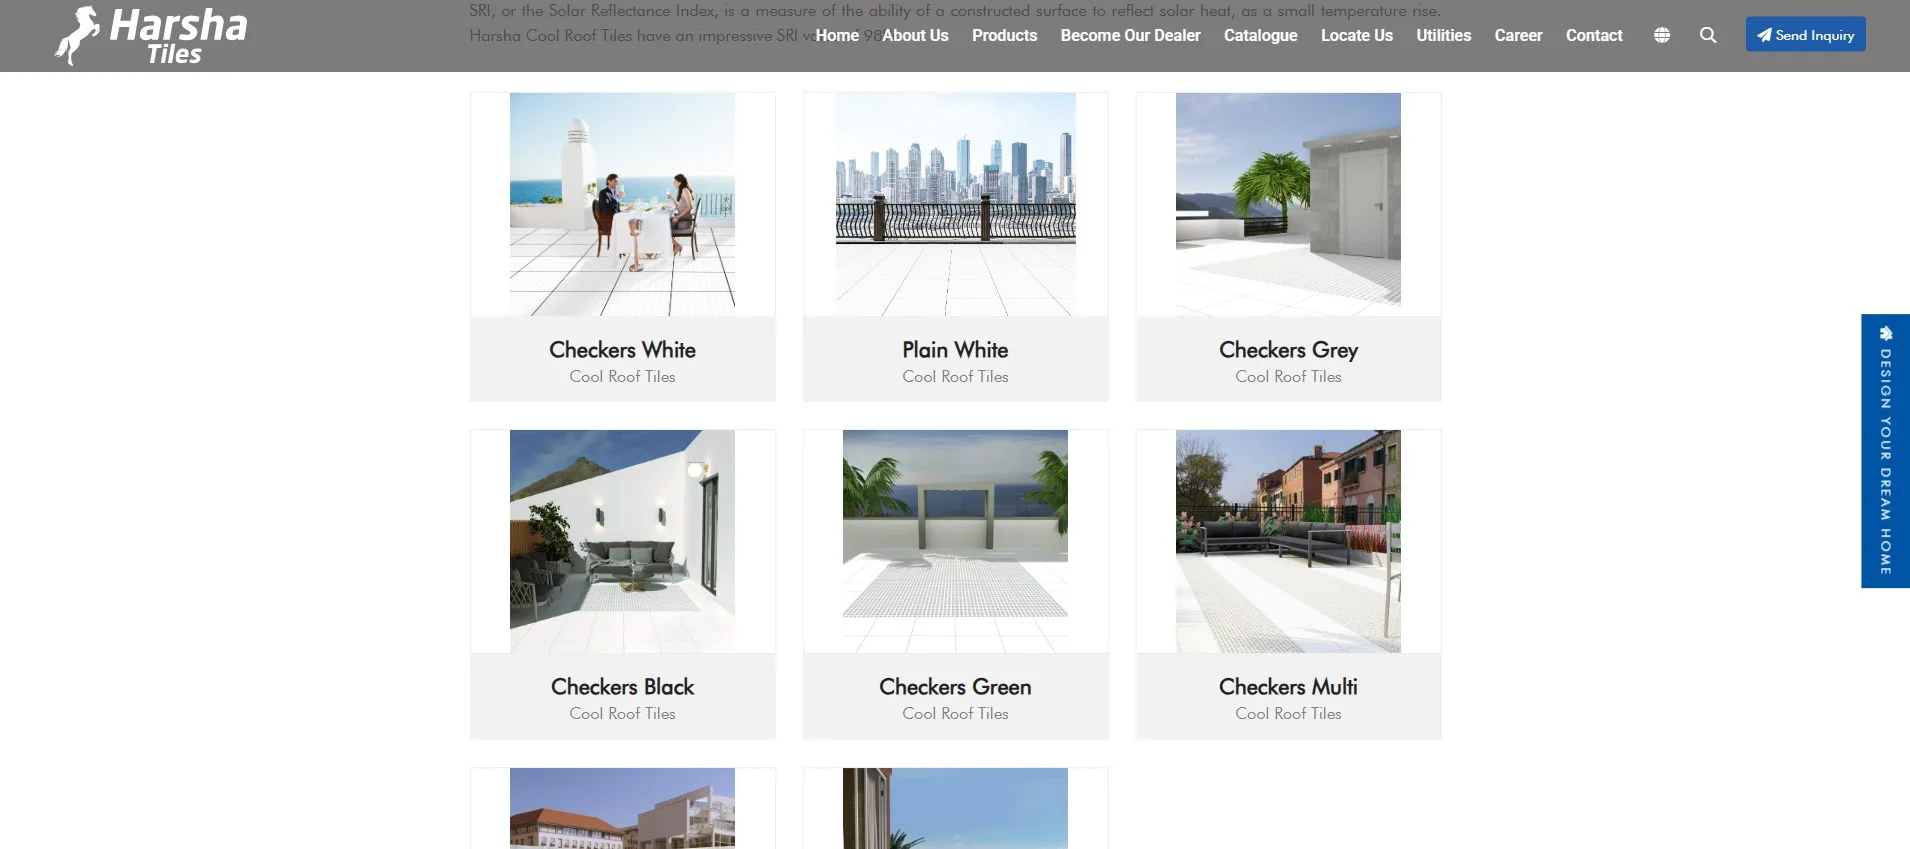
Popular Options from Harsha Tiles:
-
Checkers White – A high-SRI (Solar Reflectance Index) tile that reflects most of the sunlight, ideal for reducing indoor heat gain.
-
Plain White – Simple yet effective, this classic option offers high heat reflectivity and a clean finish.
-
Checkers Grey – A modern shade for contemporary rooftops that balances aesthetics with decent heat reflection.
-
Checkers Black – Though darker, these are designed with heat-moderating properties and suit specific architectural styles.
-
Checkers Green – A natural tone that blends well with eco-friendly or garden rooftops while maintaining thermal performance.
-
Checkers Multi – A colorful mix ideal for creative rooftop designs that still prioritize heat resistance.
-
Checkers Blue – Adds a cool-toned appearance with moderate reflectivity for stylish terrace settings.
-
Checkers Brown – Offers an earthy, rustic charm while still delivering basic insulation performance.
Conclusion
If you are planning to install heat-resistant tiles on your rooftop or terrace, then it is one of the smartest ways to deal with rising temperatures and at the same time enhance your property’s functionality and visual appeal. Good performance is also highly dependent on whether the tile is chosen correctly, say, highly efficient and aesthetically compatible Harsha Tiles, or not, and adhering to detailed installation and maintenance procedures.
Whatever it is that you are prioritizing, energy savings, comfort, or design, cool roof tiles are an investment in quality and will guarantee cooler, safer, more sustainable outdoor spaces year after year. If you care for your tiles with proper sealing, your rooftop will not only reflect the heat but also last many years.

Whatsapp Chatx
Hi! Click one of our representatives below to chat on WhatsApp or send us email to info@harshatiles.in
 |
Mr Saleem +91 82702 80707 |
|
Mr Subramanian +91 96265 57655 |
 Design Your Dream Home